
Last updated October 17, 2026
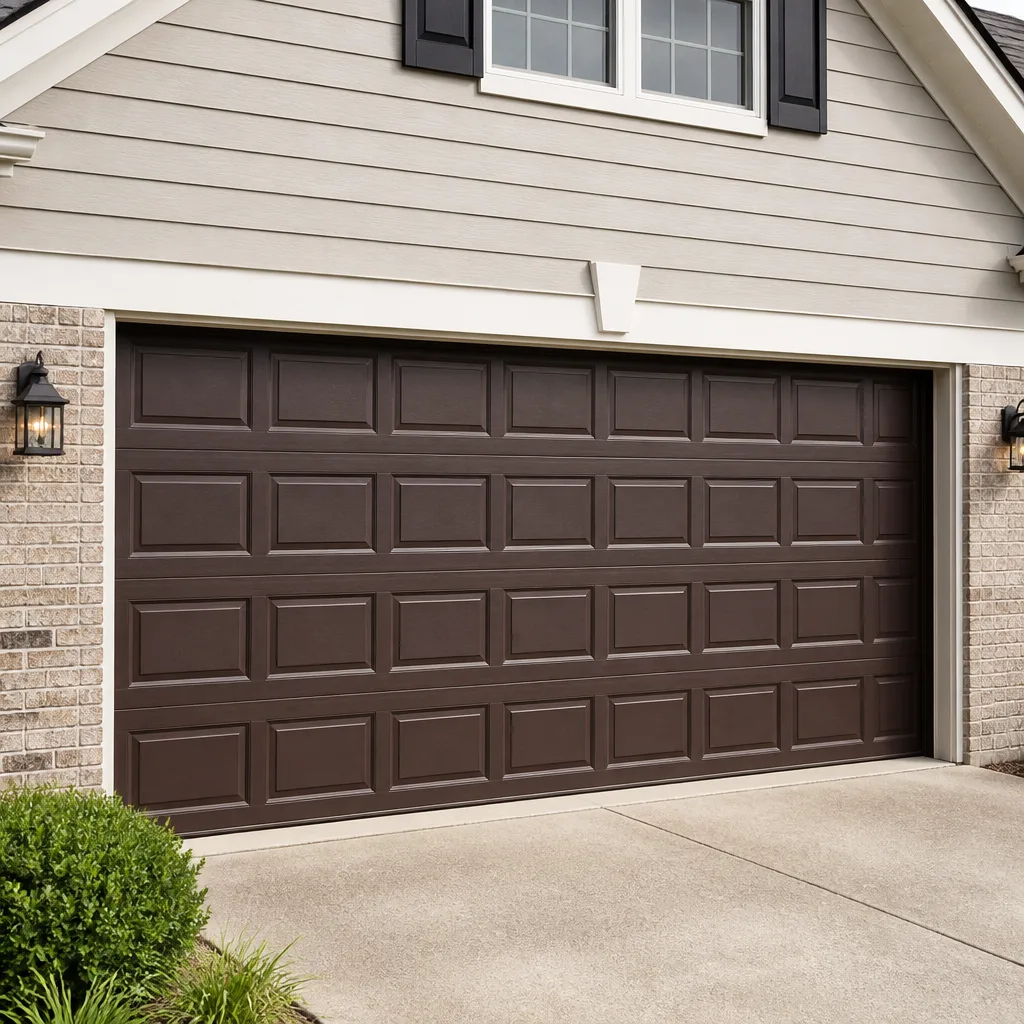 Raised-panel steel
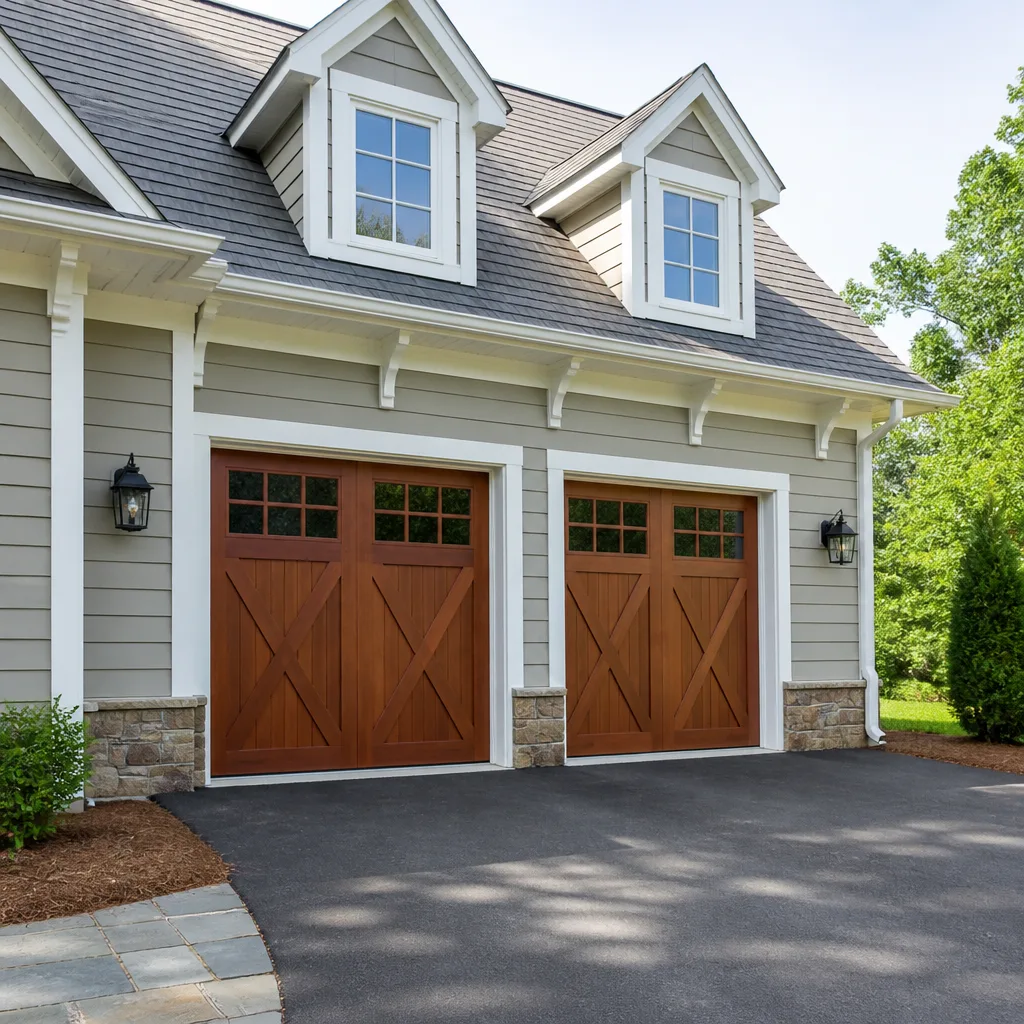 Carriage house
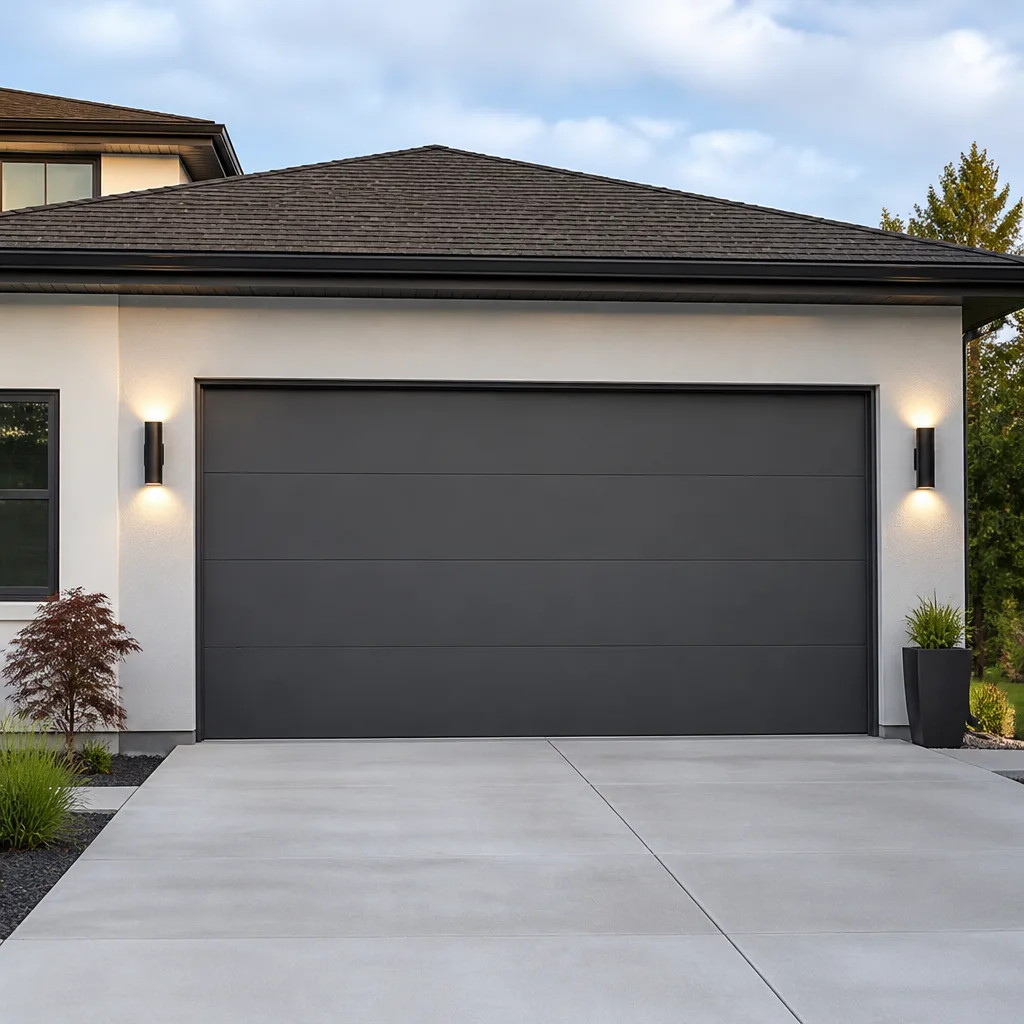 Modern flush
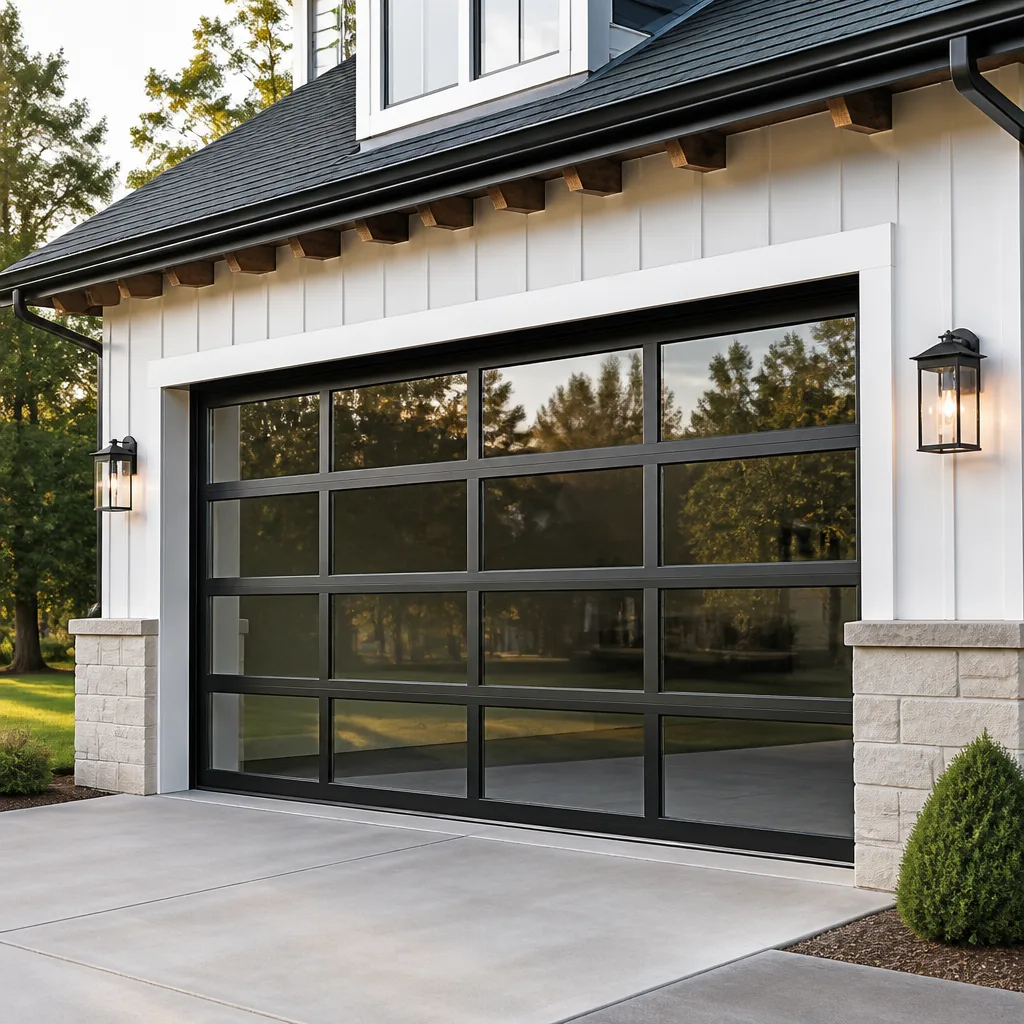 Full-view glass
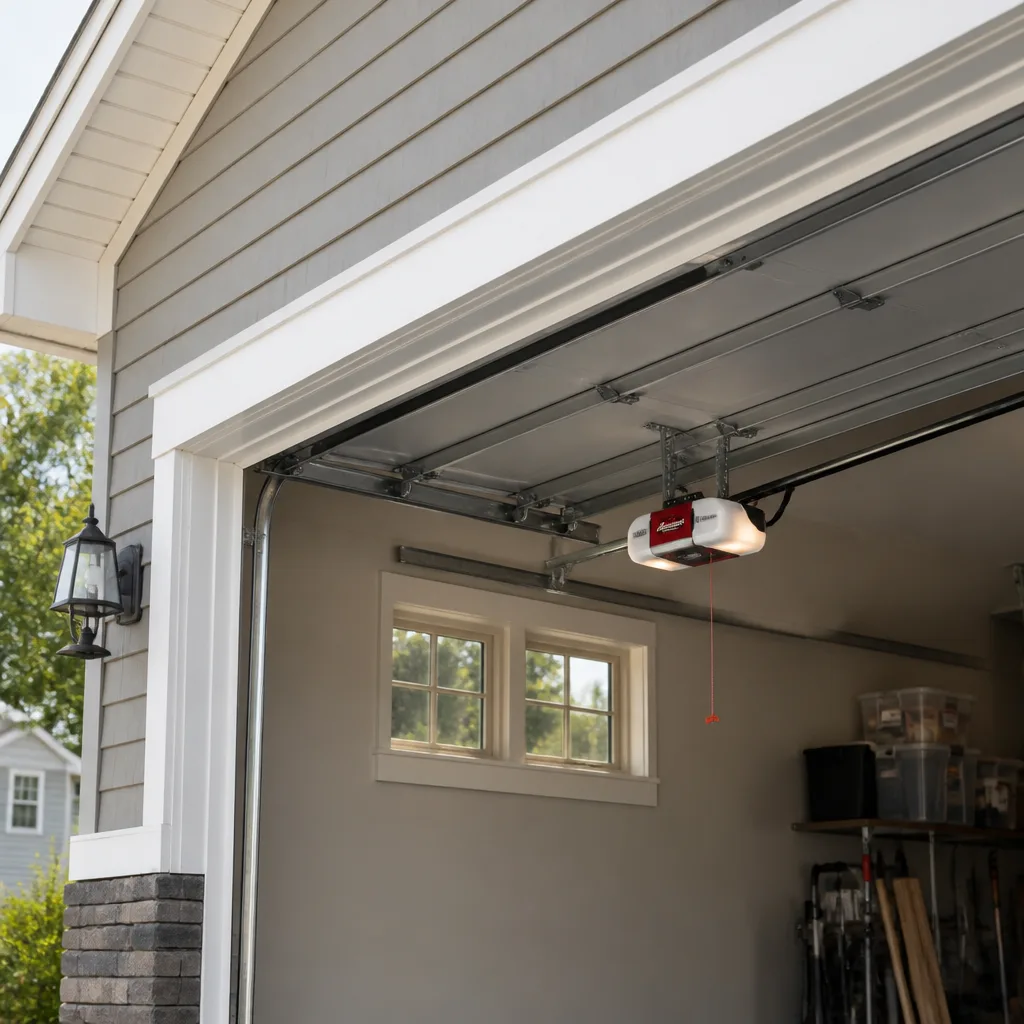 LiftMaster openers
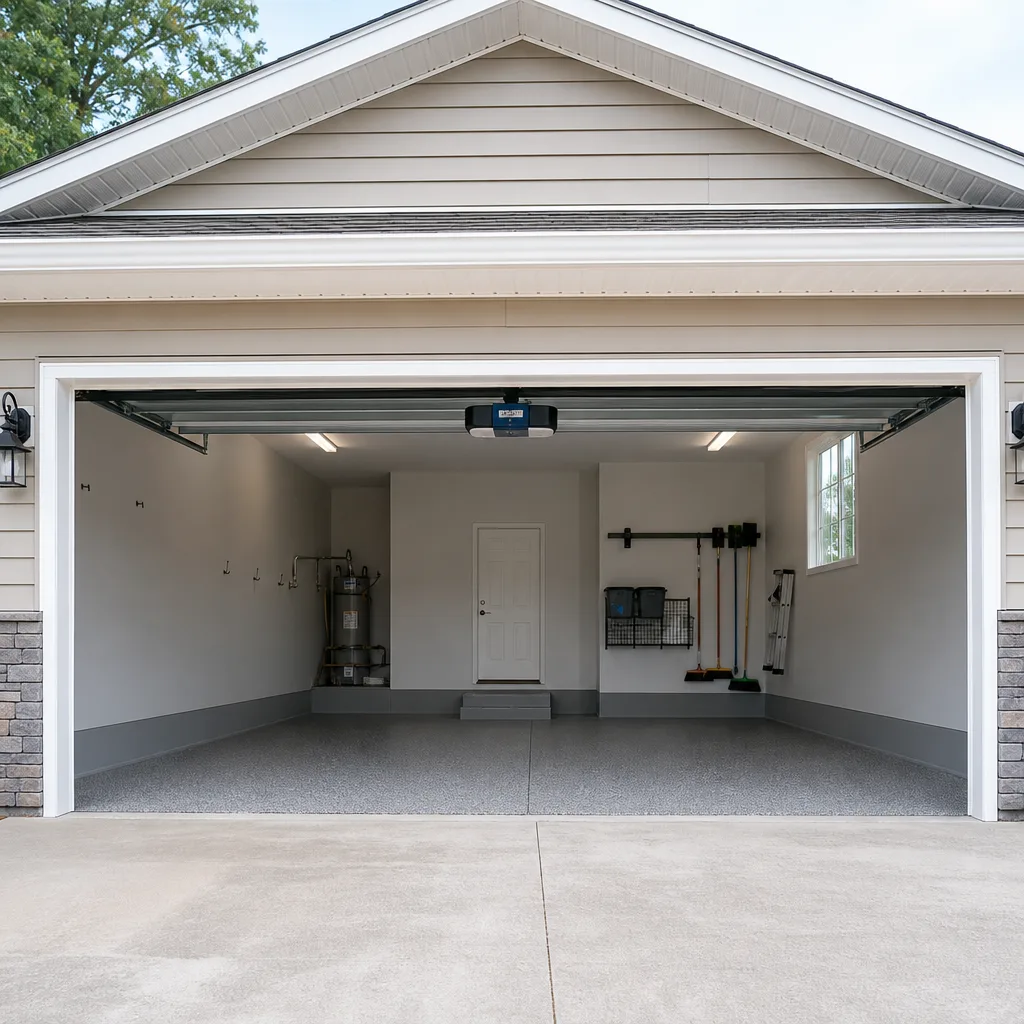 Chamberlain openers
Full 25-point door and opener safety check with every visit - springs, cables, rollers, tracks, and your LiftMaster or Chamberlain opener included
You get a price before we start. It does not change when the truck arrives.
Get your free estimateGarage Door Repair Maintenance Checklist for Tampa Homeowners
In our experience across Tampa, the number-one cause of premature garage door spring failure in coastal neighborhoods isn’t overuse. It’s leaving the factory lubricant on the spring instead of replacing it with a corrosion-inhibiting alternative within the first year. Salt air from Tampa Bay works into that thin factory coating fast, and once pitting starts, the spring’s lifespan drops from a typical 10,000 cycles to a fraction of that. This guide gives you a maintenance routine built around what actually fails here: corrosion in salt-zone neighborhoods, UV-degraded seals, and opener sensitivity drift from sustained heat. Every section below reflects failure patterns we’ve tracked in Tampa homes from Westchase to Davis Islands, not a generic national checklist.
Styles & brands we work with
Quick Answer
A garage door maintenance checklist for Tampa homeowners should prioritize corrosion prevention on springs and cables, UV protection for weather seals, and monthly balance testing during the wet season from June through October. Most Tampa doors need lubricant replacement every six months rather than the once-a-year schedule common in drier climates. A fifteen-minute monthly inspection catches most failures before they turn into a repair call.
Table of Contents
- Why Tampa’s Climate Destroys Garage Doors Differently
- The Monthly Maintenance Checklist
- Salt-Zone Inspection for Homes Within Three Miles of Tampa Bay
- How to Test Garage Door Balance at Home
- Lubricant Selection for Tampa Heat
- The Photo Documentation Habit
- Month-by-Month Calendar for Tampa’s Two Seasons
- Common Mistakes to Avoid
- When to Call a Professional
- Frequently Asked Questions
- The Bottom Line
Why Tampa’s Climate Destroys Garage Doors Differently
Tampa has two seasons: a wet season from roughly June through October and a dry season from November through May. Both of them attack garage doors in ways a Minnesota or Arizona homeowner never sees. During the wet season, humidity sits above 80% for weeks at a time. That moisture works into every unsealed metal surface. Springs, cables, hinges, and the bottom roller brackets all develop surface rust, and once rust forms on a torsion spring, the metal weakens at the molecular level. We see more spring failures in August and September in Tampa than at any other time of year, and nearly all of them trace back to corrosion that started months earlier.
The dry season brings its own problem: intense UV. Tampa gets over 240 sunny days a year. The rubber weather seal along the bottom of the door and the vinyl trim around the frame break down under that exposure faster than in almost any other Florida region because of the combination of heat and salt. When the bottom seal cracks, water, leaves, and insects get in. When the side seals go, your air-conditioned air leaks out. Both failures are preventable with inspection and replacement that costs under $40 in parts.
Heat also affects the opener. In a Tampa summer, a closed garage can reach 120°F. Opener circuit boards react to temperature changes. Safety sensor alignment drifts as the metal track expands and contracts. The force sensitivity setting that worked fine in January can cause the door to reverse unexpectedly in July. A maintenance routine that ignores Tampa’s specific climate misses the failures that actually happen here.
If you’re starting from scratch with an older door, check our guide to Garage Door Repair in Tampa for a sense of what typical repair costs run before you invest in maintenance for a door that may be near the end of its life.
The Monthly Maintenance Checklist
A complete monthly pass takes about fifteen minutes. Do it the first weekend of every month so it becomes automatic. Here’s the full list, in order:
- Open and close the door once while standing inside the garage. Listen for grinding, squealing, or rattling. A door that sounds different from last month is telling you something changed.
- Watch the door as it moves. It should travel smoothly. Jerky motion usually means a roller is failing or the track has a bend. On an extension spring system, jerky motion can also mean uneven spring tension.
- Check the weather seal along the bottom of the door. Run your hand along it. Cracks, flattening, or gaps mean it’s time to replace. In Tampa sun, expect to replace this every two to three years.
- Inspect lift cables on both sides. Look for frayed strands, rust, or kinks. Do not touch the cables. If you see fraying, the cable is nearing failure and needs a professional.
- Check the safety reverse function. Place a roll of paper towels under the door and close it. The door should reverse on contact. If it doesn’t, schedule a repair.
- Test the photo-eye sensors. Close the door and wave your hand across the beam between the two sensors. The door should stop and reverse. If it doesn’t, the sensors are dirty or misaligned.
- Lubricate hinges, rollers, and springs. Use a corrosion-inhibiting lubricant designed for garage doors. More on the right product below.
- Tighten visible bolts and screws. Garage doors cycle hundreds of times a month. Vibration loosens hardware. Use a socket wrench on roller brackets and track bolts, not a screwdriver, for proper torque.
- Wipe down the track. A clean rag removes dust and grime. Never grease the track itself. That attracts debris and causes the rollers to slip.
Document each session with a quick photo or two, which we cover in the photo log section below. This routine catches most failures before they strand a car in the driveway.
Salt-Zone Inspection for Homes Within Three Miles of Tampa Bay
If your home sits within three miles of Tampa Bay, salt air changes your maintenance math. Neighborhoods like Beach Park, Palma Ceia, Bayshore Beautiful, and Davis Islands all fall in this zone. Salt particles travel inland on the afternoon sea breeze and settle on every metal surface in your garage.
For salt-zone homes, add these steps to the monthly checklist:
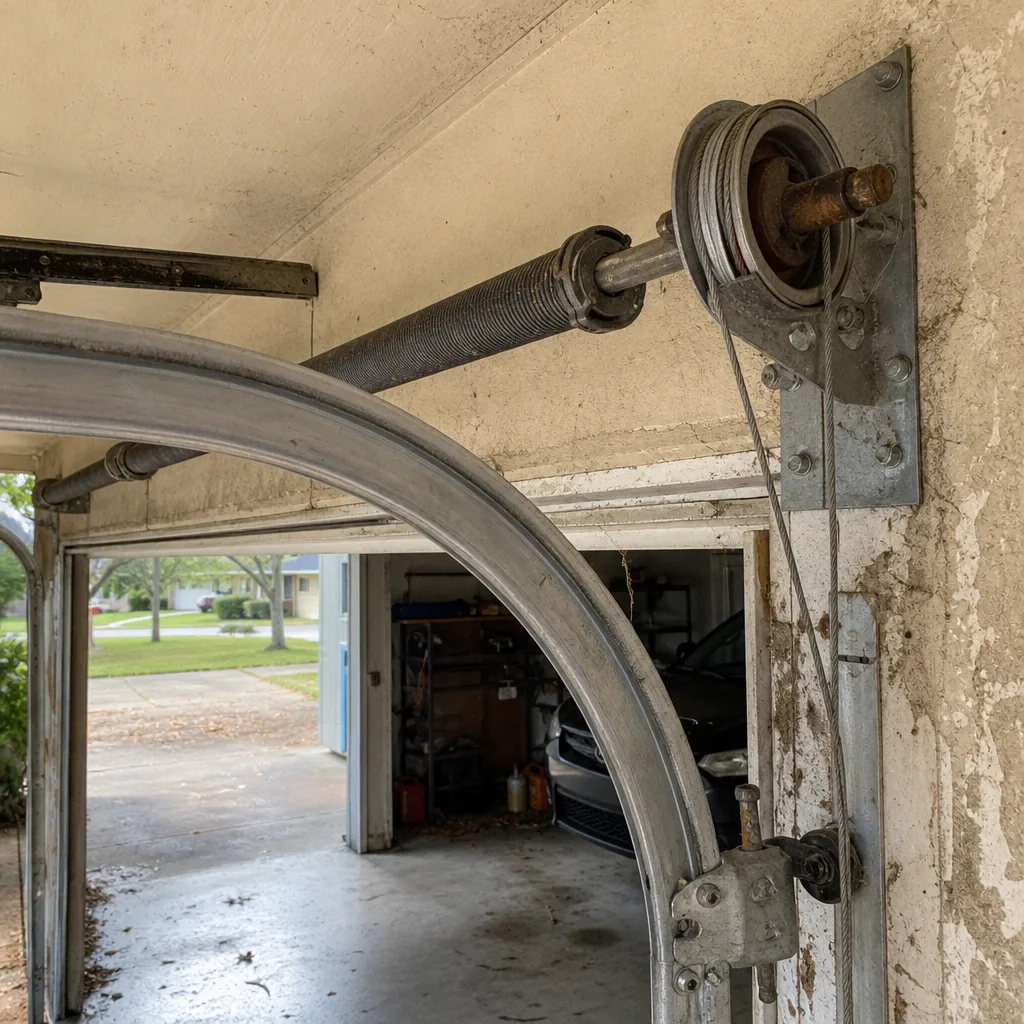
- Inspect torsion springs for pitting, not just rust. Surface rust is cosmetic. Pitting is structural. Run your eye along the spring coil. Small dark divots in the metal mean the corrosion has eaten into the spring. That spring is now a candidate for replacement, even if it hasn’t broken yet.
- Check cables for stiffness. In salt air, cables corrode from the inside first. A cable that doesn’t flex smoothly around the pulley is losing internal strands. That’s a replacement signal, not a lubrication job.
- Look at the bottom brackets. These hold the cables and rollers at the lowest point of the door. They’re the first components to show salt damage. Surface rust here spreads to the cable anchor point, and that’s a high-risk area.
- Examine the opener rail for corrosion. On screw-drive openers, the rail is exposed metal. Salt air degrades the rail surface and the carriage. Clean it monthly in salt zones and apply the manufacturer’s recommended lubricant only.
For homes in this zone, our Garage Door Spring Repair in Tampa guide explains what spring replacement costs and why salt-zone springs fail earlier than their inland counterparts. Homes more than three miles from the bay can still see salt effects during storm season when wind pushes sea air inland, so inspect during the wet season regardless of your distance from the water.
How to Test Garage Door Balance at Home
Balance testing is the single most informative maintenance step you can perform without any tools. What it tells you is how much of the door’s weight the springs are actually carrying. Here’s the step-by-step:
- Close the door. Pull the emergency release cord, which hangs from the opener rail. This disconnects the door from the opener carriage.
- Lift the door manually by the handle. It should rise smoothly with effort roughly equal to holding a medium-sized bag of groceries. It should stay in place about four feet off the ground.
- Lift the door to the halfway point and let go. A properly balanced door stays put. It doesn’t drift up or fall down.
- Interpret the result. If the door falls, the springs are weak. If it rises, the springs are over-tensioned. Either result means the springs are wearing unevenly and the opener is compensating for the imbalance, which shortens opener life.
- Reconnect the door. Pull the release cord toward the opener and run the opener once. It should reconnect automatically.
Do not adjust the springs yourself. Torsion springs are under hundreds of pounds of tension even when the door is closed. A spring that slips during adjustment can cause serious injury. The test is safe; the fix is not. If your balance test fails, call a trained technician. Also check the finish of the door during this test. If you see rust at the bottom panel or peeling paint, it’s time to address the panel coating before corrosion spreads.
Lubricant Selection for Tampa Heat
Most hardware store spray lubricants are general-purpose products designed for moderate temperatures. In a Tampa garage, where daytime temps above 90°F are common from May through October, those products thin out and run off the components within weeks. What you need is a garage door lubricant with these properties:
- A corrosion inhibitor. For any Tampa home, and especially salt-zone homes, the lubricant must actively fight rust, not just reduce friction.
- A viscosity rating appropriate for high heat. Look for products labeled for use up to at least 120°F operating temperature.
- A non-tacky formula. Sticky lubricants attract sand and dust. In Tampa, wind-blown grit adheres to greasy surfaces and accelerates roller wear.
Apply lubricant to the torsion spring coils, the roller bearings (not the track), the hinges, and the lock mechanism. Use a straw applicator for the spring so you coat each coil. Wipe away excess with a rag. In Tampa humidity, excess lubricant traps moisture against the metal and makes corrosion worse.
Do not use WD-40 as your primary lubricant. It’s a solvent and water displacer, not a long-term lubricant. It strips existing lubrication and leaves metal surfaces more exposed than before. The same applies to standard white lithium grease in aerosol form. It works for a week or two, then dries into a tacky film. A proper garage door lubricant costs between $12 and $20 and lasts six months in Tampa conditions.
The Photo Documentation Habit
Before and after photos of your garage door components are the cheapest insurance you’ll ever take out. Here’s the habit: snap four photos on your phone after every monthly maintenance session. One of the torsion spring, one of the right cable and bottom bracket, one of the left side, and one wide shot of the full door from inside the garage.
Why this matters:
- Warranty claims. Manufacturers like Clopay and Amarr require maintenance records when you file a warranty claim for rust-through or panel defects. Dated photos are proof you maintained the door.
- Insurance claims. After a storm or impact, photos show the pre-damage condition of your door. A claims adjuster can compare before and after.
- Catching slow changes. Corrosion and spring wear happen gradually. Comparing photos month to month catches changes your eye misses because it adjusts to the new normal.
- Service documentation. When a technician diagnoses a problem, your photo history helps them see what the door looked like before the failure.
Use your phone’s date stamp or name the photos with the date. Store them in a dedicated album. Five minutes a month builds a maintenance record that pays for itself the first time you avoid a denied claim.
Month-by-Month Calendar for Tampa’s Two Seasons
Forget the four-season maintenance calendars. Tampa’s calendar runs on two modes: dry season and wet season. Here’s the month-by-month breakdown.
Wet Season: June through October
June: First full monthly inspection of the wet season. Lubricate all moving parts with a corrosion-inhibiting product. Check seals for gaps. Test balance. Verify photo-eye operation.
July: Inspect springs and cables for salt pitting. Wipe down all metal surfaces with a dry rag to remove salt residue. Check opener force sensitivity, which heat can affect.
August: Peak spring failure month in Tampa. Do a complete inspection this month even if you skip others. Listen for popping sounds from the spring during operation, which signal failing coils.
September: Hurricane season peak. Confirm the door’s wind-load rating is adequate for your home’s construction year. Tighten all track bolts. Check the emergency release function works.
October: End-of-wet-season deep clean. Remove all salt and grime from tracks, rollers, and hinges. Re-lubricate. Replace the bottom seal if it shows wear.
Dry Season: November through May
November: Post-storm inspection. Look for dents, misaligned tracks, and water damage to panels. Test balance after any storm that rattled the door.
December: Check weather stripping condition as the dry air sets in. Vinyl and rubber shrink in lower humidity, opening small gaps.
January: Inspect opener chain or belt tension. Cold snaps (by Florida standards) affect metal contraction on the rail. Lubricate the rail per manufacturer spec.
February: Full inspection and balance test. This is the quietest month for repairs, so parts are widely available and technicians have open schedules if you find an issue. It’s the most affordable month for Garage Door Installation in Tampa if your inspection turns up a door that’s not worth repairing.
March: Check springs for any rust that formed during the brief winter dampness. Address surface rust on hinges and brackets with a protective treatment.
April: UV inspection. Check the bottom seal for cracking from sun exposure. Inspect panel paint for fading or peeling, especially on west-facing doors.
May: Pre-wet-season prep. Re-lubricate everything. Tighten hardware. Verify photo eyes are aligned. Confirm the door is ready for daily use in high humidity.
Common Mistakes to Avoid
- Using the factory lubricant until it disappears. Factory spring lubricant is a shipping protectant, not a long-term coating. In Tampa’s salt air, it’s gone within a year. Replace it with a corrosion-inhibiting product at your first maintenance session.
- Lubricating the track. Garage door tracks are designed to run dry. Lubricant attracts sand and grit that grinds down rollers. Wipe tracks clean, then leave them alone.
- Ignoring a slow balance test result. A door that drifts down when released is telling you the springs are wearing. Waiting until the spring breaks turns a planned replacement into an emergency repair, and the opener takes damage in the meantime.
- Waiting until the wet season to start maintenance. The corrosion that kills springs in August starts forming in May. Salty, humid air works on unprotected metal for weeks before the visible pitting appears. Start the maintenance routine before the wet season hits.
- Using general-purpose spray lubricant. Standard aerosol lubricants thin out in Tampa heat. Buy a garage door specific product with a corrosion inhibitor, and reapply every six months.
- Adjusting spring tension after a failed balance test. Torsion springs contain enormous tension. No homeowner should attempt spring adjustment. The test is safe; the repair is not.
- Skipping photo documentation. Unplanned maintenance forgets what the door looked like six months ago. Photos create a record that protects warranty and insurance claims.
When to Call a Professional
Some maintenance findings are stop signs. If you see frayed cables, a rust-pitted spring, a cracked panel, or a door that fails the balance test, stop the DIY work and call a technician. These conditions indicate structural fatigue, and continued operation risks a sudden failure that may require Garage Door Repair. Safety sensors that don’t trip, openers that reverse for no reason, and loud bangs during operation also warrant a professional diagnosis. The guideline is simple: if the problem involves springs, cables, or the opener’s force logic, it’s beyond routine maintenance. Fernbrook Garage Doors Tampa offers free estimates across Tampa – call (850) 831-4801 and we’ll assess the door and give you a written price before any work begins.
Frequently Asked Questions
Lubricate your garage door every six months in Tampa, not once a year. The combination of salt air and high humidity breaks down standard lubricants faster than in drier climates. Use a corrosion-inhibiting product designed for garage doors, applied to springs, hinges, and roller bearings.
A DIY monthly maintenance routine costs about $30 to $50 per year in lubricant and cleaning supplies, plus the occasional seal replacement at $20 to $40. Professional maintenance visits in Tampa typically run between $75 and $150 depending on the scope. Call (850) 831-4801 for a free estimate on professional maintenance.
Summer is the peak season for spring failures in Tampa because corrosion from the wet season reaches a critical point. Rust pitting weakens the spring coil, and the added stress of daily use in high heat causes the failure. Springs that receive proper lubrication with a corrosion inhibitor last years longer.
No. Torsion springs and lift cables are under enough tension to cause serious injury if they slip during service. Cable and spring work requires specialized tools and safety training. Hire a licensed and insured professional for any spring or cable work.
Test the balance by pulling the emergency release and lifting the door manually. If it drifts down or feels heavy, the springs are losing tension. You can also look for gaps in the spring coil, rust pitting, or a popping sound during operation. Any of these signal the springs need professional evaluation.
Chamberlain, LiftMaster, Clopay, Amarr, and Wayne Dalton all produce doors that hold up well in Florida when maintained properly. The brand matters less than the maintenance. A budget door that gets monthly inspections and proper lubrication outlasts a premium door that’s ignored. We train our technicians on eight major brands, so the Fernbrook Garage Doors Tampa home page explains what to look for when choosing a door for Florida’s climate.
The Bottom Line
The garage door that fails in Tampa isn’t usually the one that was abused. It’s the one that was ignored. Salt air, UV exposure, and heat work on every door continuously, and most failures start months before the door actually stops working. The maintenance routine above costs about fifteen minutes a month and less than $50 a year in supplies. What it buys you is a door that opens when you need it, a spring that lasts its full cycle rating, and a home that stays sealed against Tampa’s weather. For more guides & resources, visit our blog. Written by Jesse Calder, Owner at Fernbrook Garage Doors Tampa, serving Tampa since 2002.
See the difference
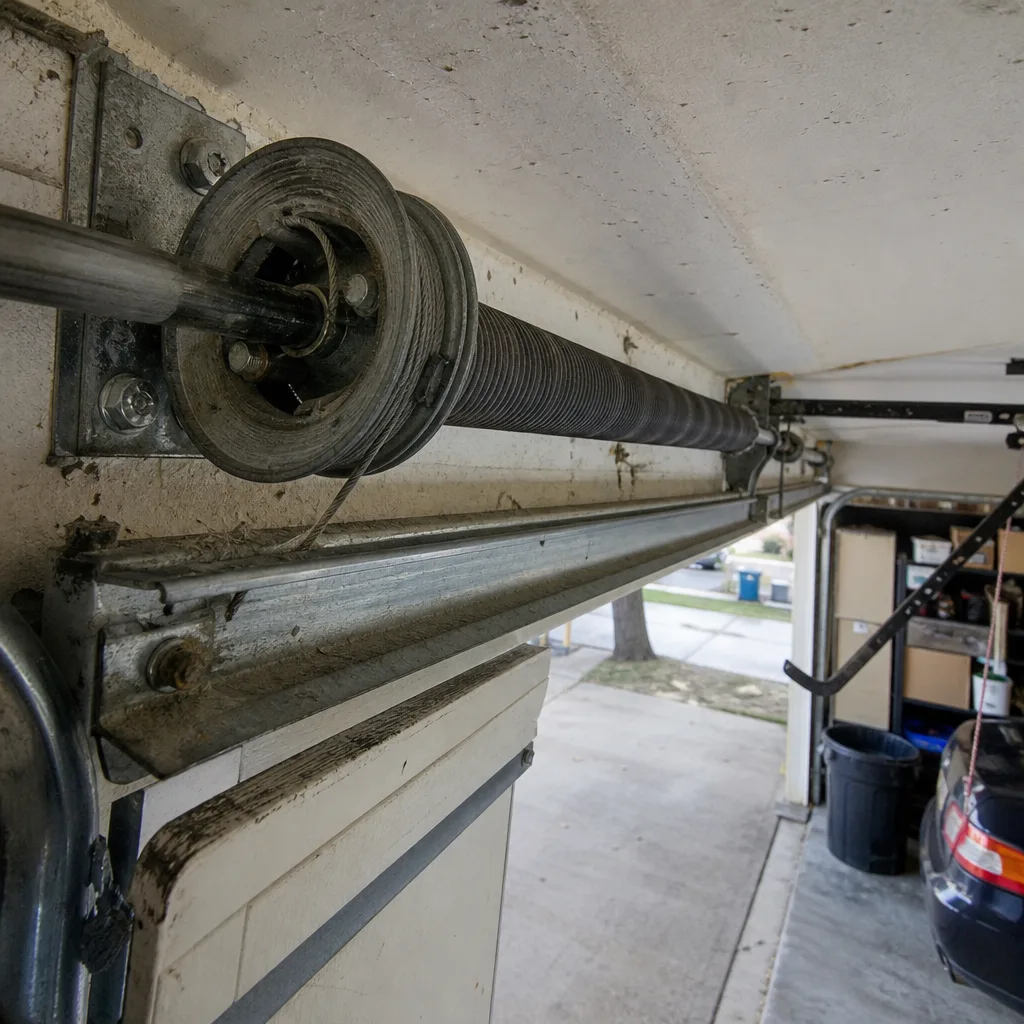 Before
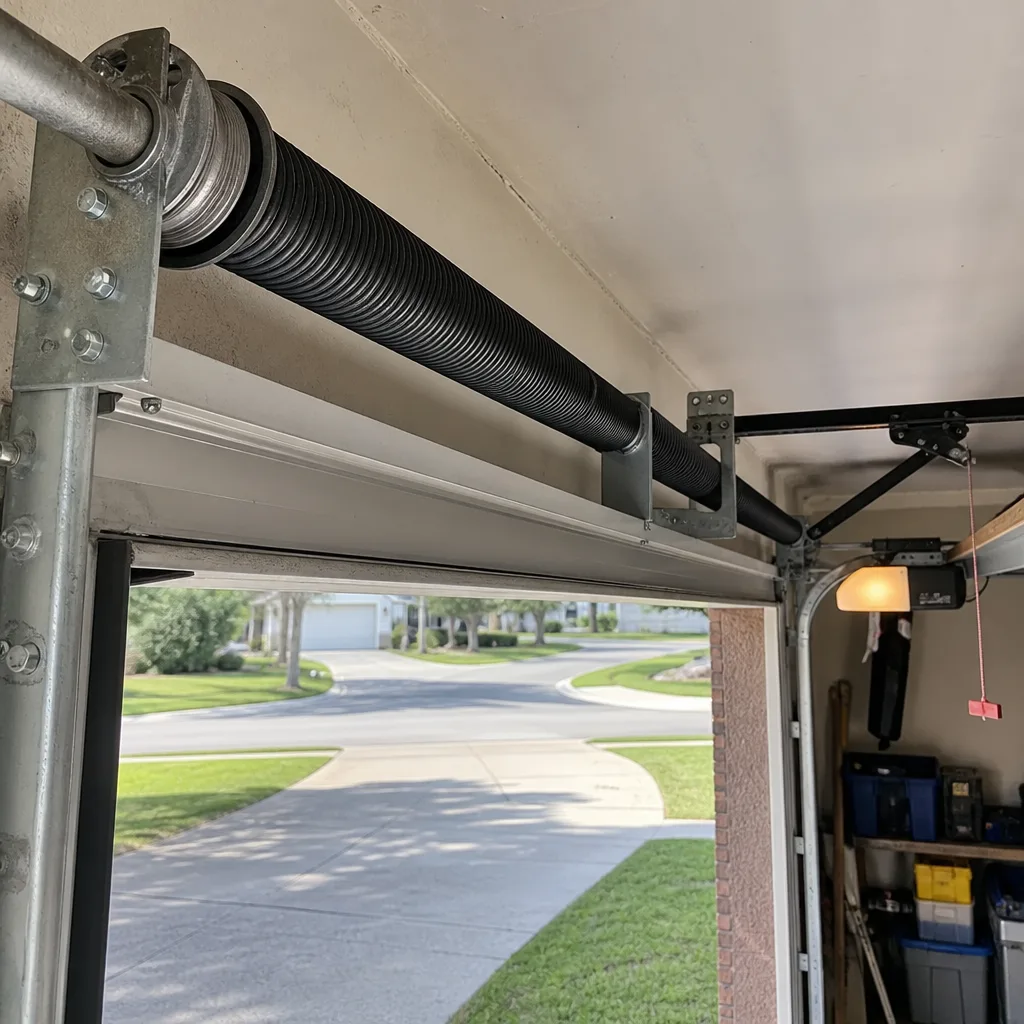 After
 Before
 After
 Before
 After