
Last updated October 17, 2026
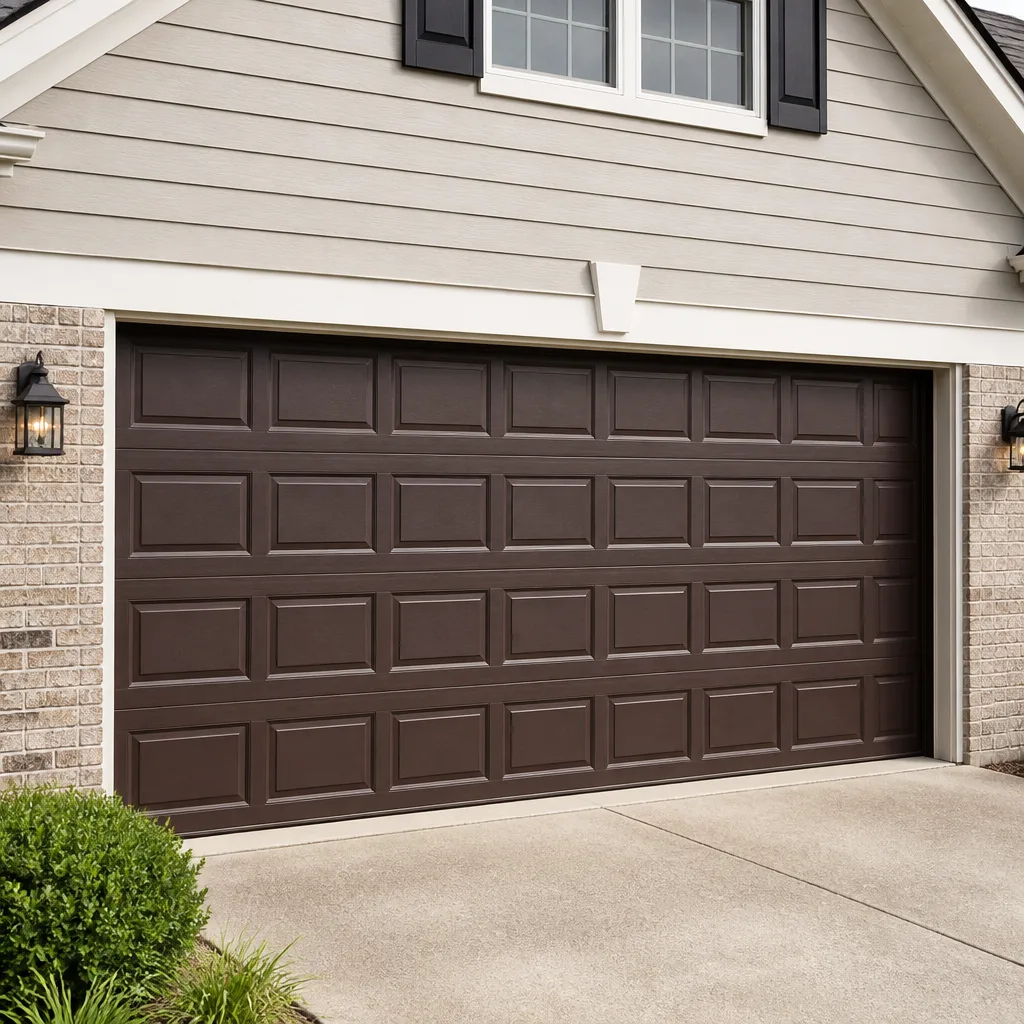 Raised-panel steel
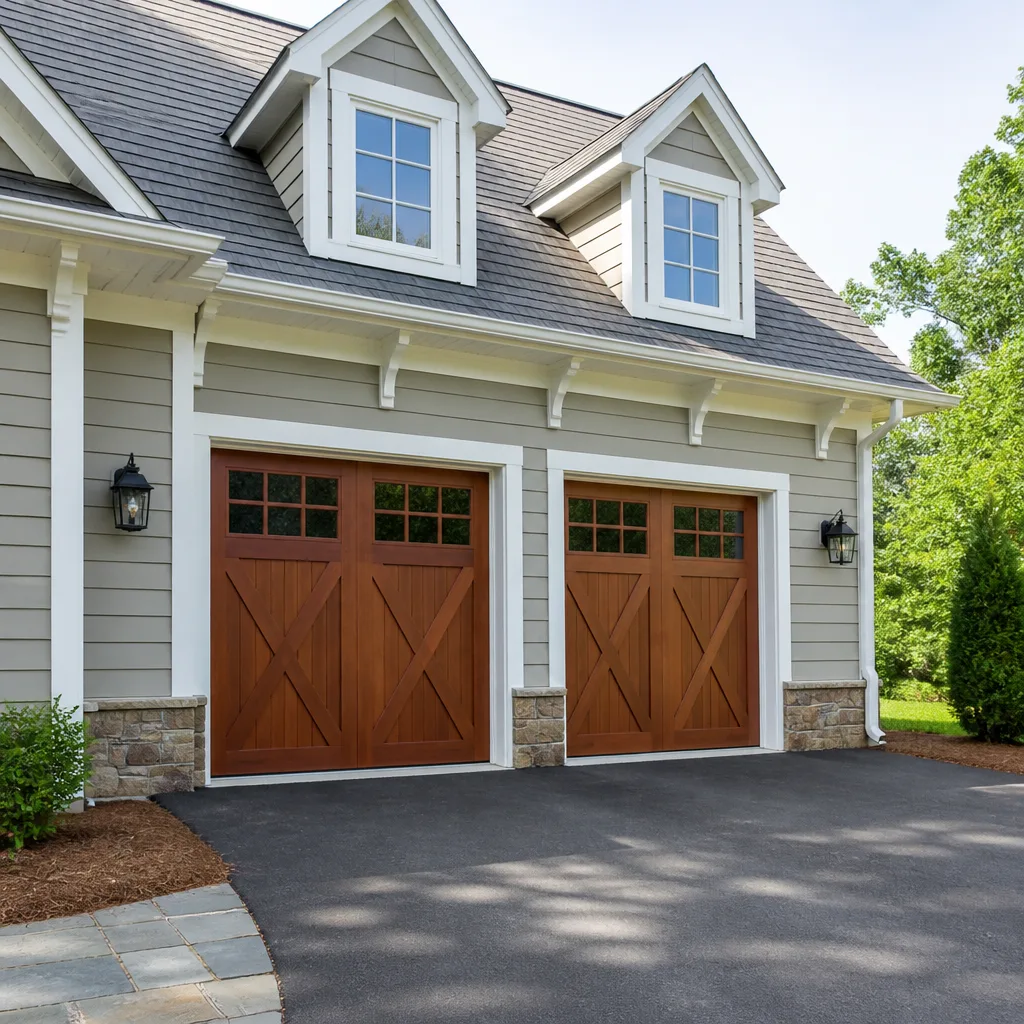 Carriage house
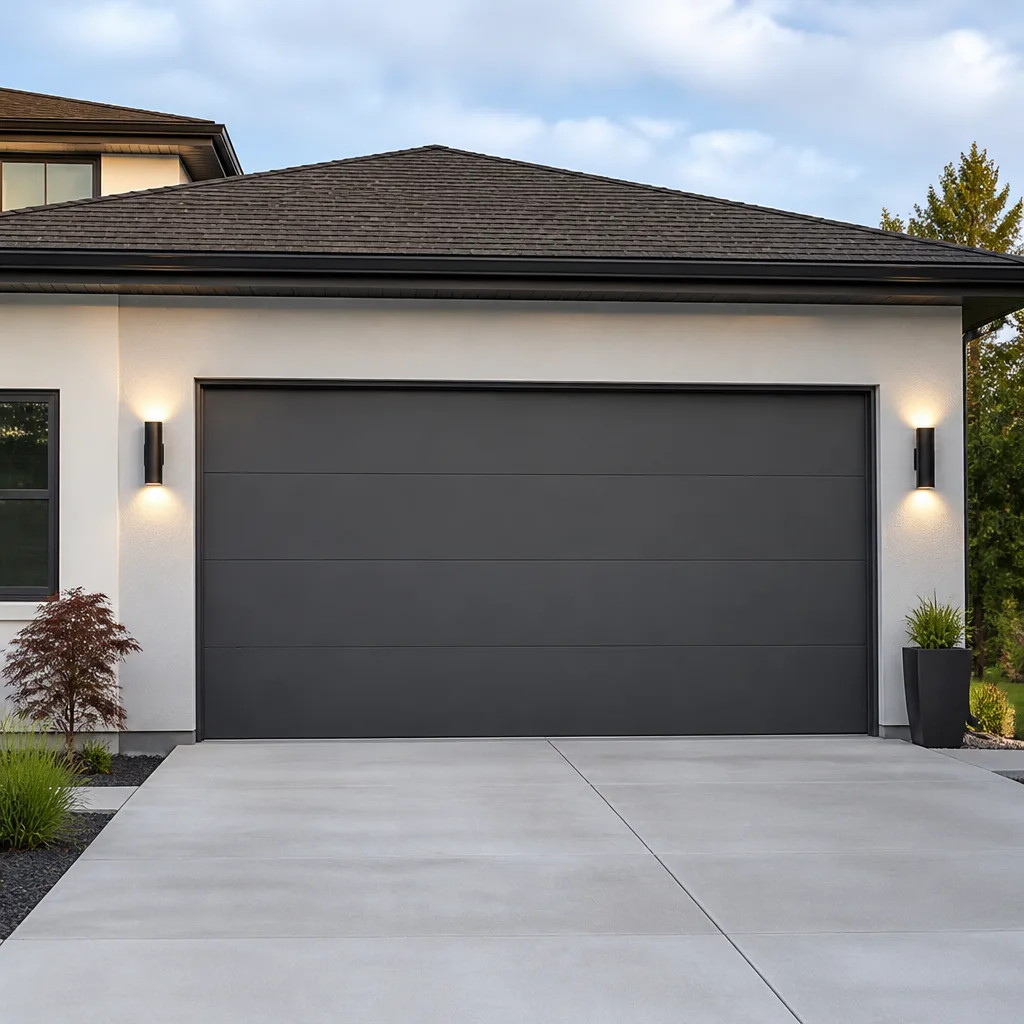 Modern flush
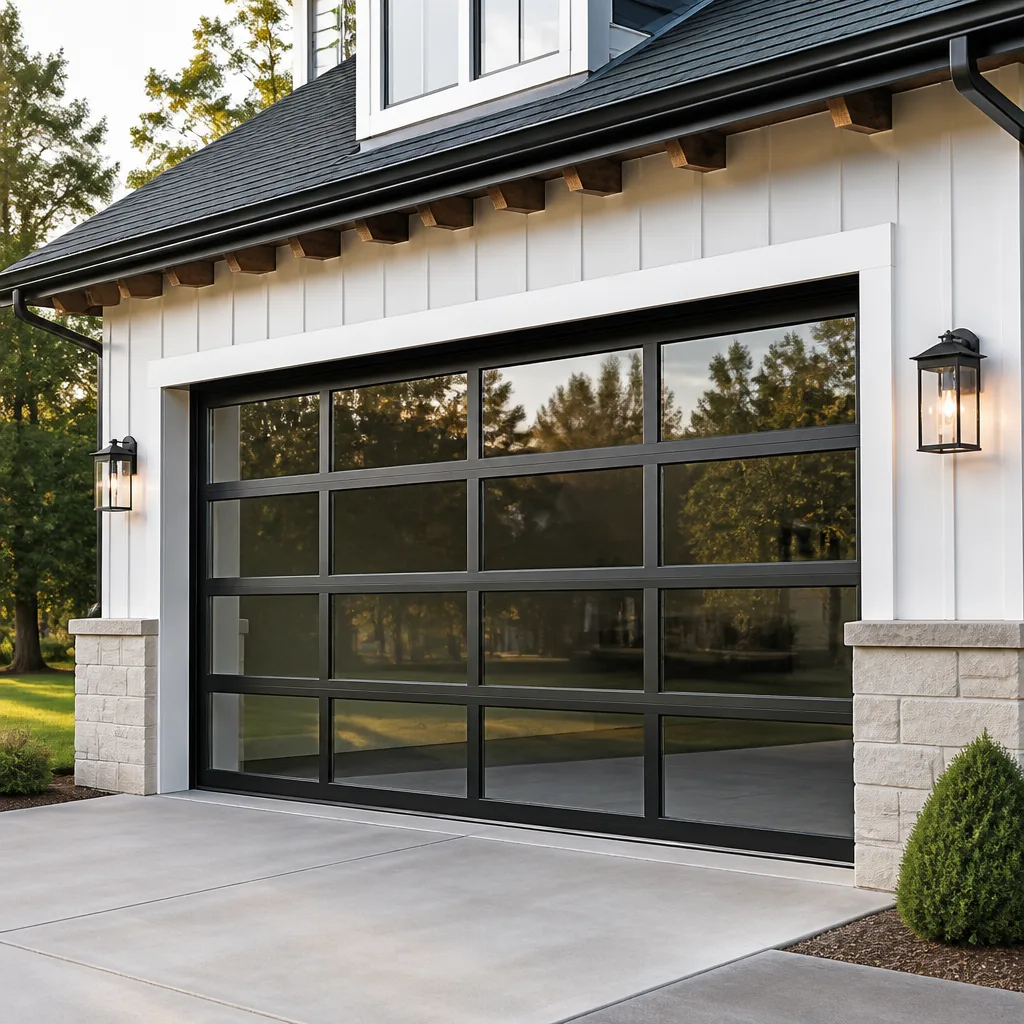 Full-view glass
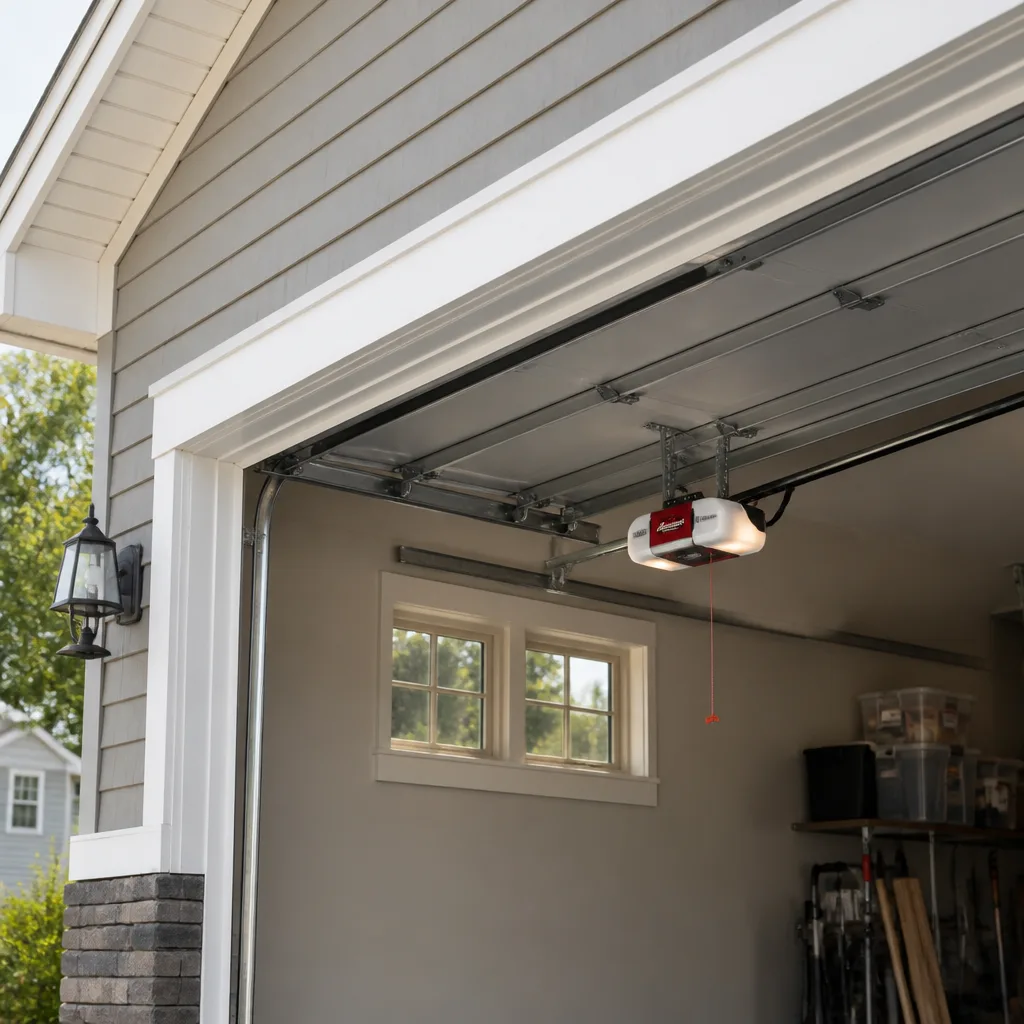 LiftMaster openers
 Chamberlain openers
Full 25-point door and opener safety check with every visit - springs, cables, rollers, tracks, and your LiftMaster or Chamberlain opener included
You get a price before we start. It does not change when the truck arrives.
Get your free estimateDIY vs Professional Garage Door: The Tampa Homeowner’s Decision Guide
A garage door torsion spring stores roughly 100 foot-pounds of torque when fully wound. That’s enough stored energy to break a wrist or fracture a forearm if the winding bar slips. Emergency rooms in the Tampa Bay area see spring-related hand and arm injuries every spring season, and the alarming pattern is that most of those patients are confident, capable homeowners who watched a tutorial and felt ready. This guide draws an honest line between the garage door tasks a careful person can safely handle on a Saturday morning and the ones that carry injury risk wildly out of proportion to the money saved. You’ll learn what’s genuinely DIY territory, what’s not, what mistakes actually cost in the Tampa market, and how a hybrid approach often beats both extremes. For more guides & resources on keeping your garage door safe and functional, explore our blog.
Styles & brands we work with
Quick Answer
Most garage door maintenance tasks are safe for a careful Tampa homeowner with basic tools: lubrication, sensor realignment, weatherstripping, and remote reprogramming. However, torsion spring replacement and cable work involve components under enough tension to cause serious injury regardless of experience, and those jobs account for the majority of garage door injuries in Tampa each year. The honest splits: maybe 70% of garage door problems are safe and straightforward to attempt yourself, 20% are worth a careful diagnosis before calling a pro, and roughly 10% should never be touched by anyone but a trained technician. When in doubt, call a professional and at minimum get a written quote before any work starts.
Table of Contents
- What’s Genuinely Safe to Fix Yourself
- What You Should Never Touch (And Why)
- The Real Cost of a DIY Mistake in Tampa
- How to Judge a YouTube Tutorial for Your Tampa Door
- The Middle Option: Diagnose It, Document It, Call It In
- How Tampa’s Climate Changes the DIY Equation
- Common Mistakes to Avoid
- When to Call a Professional
- Frequently Asked Questions
- The Bottom Line
What’s Genuinely Safe to Fix Yourself
Let’s start with the good news. A handful of garage door jobs are genuinely safe for a homeowner with a step ladder, a can of lubricant, and thirty minutes of patience. These tasks involve no springs, no cables, and no tension-adjusted components, and they cover a surprising portion of everyday garage door complaints in Tampa homes.
1. Lubrication
A noisy garage door in Tampa is often just a dry door. Coastal humidity accelerates surface rust on hinges and rollers, but the bigger culprit is heat breaking down whatever lubricant was applied years ago. Use a white lithium grease or a garage door specific spray on the hinges, rollers, and the metal track where the roller rides. Do not lubricate the torsion spring itself. A light spray on the spring coils is occasionally helpful, but overdoing it sends grease dripping onto the door panels and your car below. If you have pets or small kids walking through the garage, choose a non-toxic option when available. This is a fifteen-minute job and one of the most common first fixes our technicians recommend over the phone.
2. Photo Eye Sensor Alignment
If the door starts closing and then reverses for no obvious reason, the photo eye sensors near the bottom of each track are usually the culprit. They get bumped by bikes, yard tools, and Tampa’s afternoon thunderstorms rattling the door frame. Loosen the wing nut holding the sensor bracket, rotate the sensor a few degrees until the indicator lights on both sides glow steady, and tighten it back down. Wipe the lenses with a dry cloth. No tools required beyond a small wrench and maybe a level if your eyes are tired. Auto-reverse problems account for a significant share of “my door won’t close” calls in Tampa, and a surprising number are fixed by this five-minute adjustment.
3. Weatherstripping Replacement
The rubber strip along the bottom of the door and the vinyl weather seal around the frame are wear items. Tampa’s heat bakes them brittle within a few years, and once they crack, you’ll notice leaves, rain, and the occasional palmetto bug finding their way in. Replacement is genuinely simple: pull the old strip out of the aluminum retainer channel, slide the new one in, and trim to length. You can buy the material at any local hardware store. There’s nothing tensioned, nothing spring-loaded, nothing that can hurt you if you’re simply replacing a rubber gasket. For garage door repair in Tampa, this is one of the few jobs our technicians tell homeowners they’re absolutely fine handling themselves. See our Garage Door Repair Maintenance Checklist for Tampa Homeowners for other safe tasks to tackle.
4. Manual Lock and Handle Adjustment
If the manual slide lock near the center of the door is stiff or the handle feels loose, you can usually fix it with a screwdriver and some penetrating oil. Tampa’s humidity contributes to sticky lock cylinders and corroded set screws. Loosen the fasteners, clean the threads with a wire brush, apply a light lubricant, and tighten everything back down. This mechanism is completely separate from the door’s tension system. As long as you never touch the spring assembly or the cables, you are working on hardware that cannot cause serious injury.
5. Opener Remote Reprogramming
Remotes stop working for a dozen reasons: dead batteries, bumped programming buttons, frequency interference from new smart home gear. Most openers have a learn button on the motor unit, and the process for pairing a remote is typically a two-button sequence. Check your opener’s manual or the manufacturer’s website. Fernbrook Garage Doors Tampa home covers opener troubleshooting in detail, but the short version is that remote programming is a safe, low-risk task. If the wall button opens the door and the remote doesn’t, it’s almost never a spring issue.
What You Should Never Touch (And Why)
The line between safe DIY and dangerous DIY is drawn by one thing: stored energy. When a garage door is balanced correctly, the torsion spring system above the closed door holds the entire weight of that door, typically 150 to 250 pounds for a double door. The spring is wound tight, storing energy that is released gradually as the door opens. Touch that spring improperly and the energy releases instantly.
Torsion Spring Replacement
The torsion spring is the single most dangerous component in any home garage. When it fails, which is common in Tampa because heat and humidity accelerate metal fatigue, the spring snaps audibly, sounding like a gunshot inside the garage. Replacing it requires unwinding the old spring, winding the new one to a specific number of quarter-turns based on the door’s weight and height, and securing it with set screws. Each step involves a winding bar inserted into the spring cone under maximum load. If that bar slips, it becomes a projectile.
Every spring season, Tampa emergency departments treat homeowners with lacerations, fractures, and dislocations from failed DIY spring work. These are not clumsy people. They’re engineers, tradespeople, and generally handy homeowners who underestimated how much energy a spring contains. Our technicians train for weeks before touching a spring, and they still treat every spring job with the same deliberateness. We recommend the same caution to every homeowner who calls us. Garage Door Spring Repair in Tampa covers the process we follow, but the relevant point here is that the savings from attempting this yourself, maybe $200 to $400 on a job that typically runs $180 to $340 for the repair itself, is not worth a forearm fracture and a door that must be rebuilt.
Cable Replacement
The lift cables on either side of the door ride through the torsion system and carry the door’s weight whenever the springs are not in play. When a cable frays or snaps, it whips with enough force to cut skin and damage anything nearby, including cars parked in the garage. Replacing a cable requires de-tensioning the spring system, which brings you right back to the danger zone described above. There’s no safe shortcut for a broken cable, and a door with one broken cable will often bind in its tracks when you attempt to open it manually, which can twist the door panels and compound the damage.
Any Adjustment Involving the Spring System
Some tutorials suggest adjusting your spring tension if the door is slightly heavy or unbalanced. The advice is technically accurate: a door that’s too heavy is usually under-tensioned, and a door that flies open is over-tensioned. But adjusting spring tension involves the same winding procedure as replacement, and it is exactly as dangerous. If your door is off-balance, call a professional. We see too many doors in Tampa neighborhoods like Seminole Heights and Carrollwood that have been partially unwound by a well-meaning homeowner and are now more dangerous than before.
The Real Cost of a DIY Mistake in Tampa
A common argument for DIY spring replacement is that it saves money. The math usually assumes the repair goes smoothly and stops there. It’s worth examining what a mistake actually costs in the Tampa market, because the economics change quickly once you include the ways a high-tension repair can go wrong. Our Garage Door Cost Breakdown: The Tampa Homeowner’s Reference for 2026 breaks down typical repair prices in detail.
| Scenario | Homeowner Cost Range | What It Involves |
|---|---|---|
| Successful DIY spring replacement | $60 – $120 in parts | Correct spring pair, winding bars, several hours of careful work |
| Failed DIY spring attempt, no injury | $300 – $600 | The professional repair still happens, plus the cost of your own wasted time and parts |
| Failed DIY spring attempt, door damaged | $700 – $1,500 | Stripped torsion tube, misaligned tracks, bent panels, sometimes a new spring pair after the first was ruined |
| Failed DIY spring attempt, personal injury | $2,000+ | Emergency room or urgent care visit, possible hand or forearm surgery, lost work time |
| Professional spring replacement from the start | $180 – $340 | A trained technician, balanced spring system, warranty on parts and labor |
The cases we see most often in Tampa involve a homeowner who installs a spring pair incorrectly, then calls us after the door binds or slams shut. The professional repair at that point costs more than it would have initially, because the technician now needs to un-do the mistake before doing the actual repair. A stripped torsion tube, which is what happens when a winding bar slips under load, can add $150 to $300 to the job by itself. Some doors, especially older Wayne Dalton models with hollow torsion tubes, are particularly unforgiving. When the tube is damaged, the entire shaft sometimes needs replacement, pushing what would have been a $250 spring swap into an $800 repair.
None of this is said to shame anyone. It’s said because the economic argument for DIY springs only works if you ignore every way the job can fail. If you’re simply curious about what a spring replacement should cost, the honest range in Tampa is $180 to $340 for a standard two-spring setup on a 7-foot door, and that price includes the technician’s time, the parts, balancing the door, and usually a warranty. Get that number in writing before you decide anything.
How to Judge a YouTube Tutorial for Your Tampa Door
Not all garage door tutorials are created equal, and the difference matters more than most homeowners realize. A tutorial filmed in Ohio or Michigan may show a door with different spring configurations, different climate-related wear patterns, and different code requirements than what sits above your car in South Tampa or Westchase.
Here’s what to look for when evaluating a garage door repair video:
- Check the spring type shown. Most Florida homes have standard torsion springs mounted on a bar above the door, but some older homes have extension springs running along the horizontal tracks on either side. A tutorial for one type is not applicable to the other. If the video doesn’t specify which system it’s working on, skip it.
- Look at the climate clues. A video shot in a dry northern climate won’t address the rust and corrosion patterns common in Tampa garages, where humidity sits well above 60 percent for much of the year and salt air affects homes near the bay. If the creator never mentions humidity, rust, or bolt corrosion, the door may be in better shape than yours to start with.
- Watch for proper safety notations. A responsible tutorial will show winding bars with comfortable grips, safety glasses, and a note about marking the spring position before removal. A video that skips these details is teaching unsafe habits, even for a viewer who never attempts the actual repair.
- Consider the door brand. Amarr and Raynor doors are common in Tampa and each has slightly different hardware, particularly around the bottom brackets and cable drums. A tutorial filmed on a Clopay door may show components that look similar but don’t quite match what you’re working with.
- Look at the video’s comment section. If a meaningful portion of the comments question the technique or describe injuries or near-misses, that’s the most honest review the video has.
The gap between a YouTube tutorial and your specific garage is wider in Tampa than in most cities, because our heat and humidity age components differently than a garage in Denver or Chicago. A spring that looks clean and intact in a tutorial may have six years of Tampa humidity micro-corrosion beneath the paint. Treat every tutorial as background information, not as a guarantee that your door will behave the way the video’s door did.
The Middle Option: Diagnose It, Document It, Call It In
Most DIY versus professional guides frame the decision as all-or-nothing: either you fix it yourself or you blindly call a technician. The reality in Tampa is that a third option often produces the best outcome, which is a homeowner who does the diagnosis, documents what they see, and calls a professional with specific information. This approach saves time, reduces the chance of a misdiagnosis, and often results in a more accurate first quote.
Here’s the step-by-step version of what we mean:
- Observe the door’s exact behavior. Does it close most of the way and then reverse? Does it hang unevenly on one side? Does it make a noise only when opening, only when closing, or in both directions? Write down what you see, including the time of day. Tampa afternoon sun heats west-facing doors enough to change how the tracks behave, and that detail is useful to a technician.
- Photograph the components. Take photos of the springs above the door, the cables on either side, the bottom brackets where the cables attach, and the tracks near the floor. Good photos, taken in daylight with your phone flashlight, give a technician a head start before they ever pull up to the house.
- Check the simple things first. Clear any debris from the photo eye sensors. Make sure the opener is plugged in and the outlet works. Confirm the manual release cord hasn’t been pulled. These checks take five minutes and solve a surprising number of the calls we receive in Tampa.
- Call with the details. When you call, you’ll reach a live person even at 2 a.m. if that’s when the door failed. Describe what you observed, mention the spring type if you know it, and ask for a written price before anything is scheduled. A thorough description from you often allows the technician to arrive with the right parts the first time.
The value here is not just convenience. A homeowner who can describe the problem accurately typically gets a faster, more targeted repair than one who simply says “the door is broken.” In our experience, the difference between “it reverses when it gets to the bottom” and “it’s broken” is often the difference between a one-trip repair and a two-trip diagnosis. That’s the middle path, and it works well for Garage Door Repair in Tampa homeowners who want to be involved without holding a wrench.
How Tampa’s Climate Changes the DIY Equation
Garage door guides written for a national audience often miss the ways Tampa’s specific climate changes the maintenance and repair picture. We’ve repaired doors across Tampa, from Davis Islands to Carrollwood to neighborhoods near MacDill, and the patterns hold consistent.
Humidity and corrosion. Tampa’s relative humidity sits above 60 percent for most of the year and spikes higher in the summer. That moisture works its way into every unpainted surface: hinge pins, spring coils, cable strands, and the internal gears of garage door openers. Springs that would last 15,000 cycles in a dry climate may fail at 10,000 or 12,000 cycles in Tampa. Surface rust on a spring is normal and not necessarily alarming, but deep pitting or frayed cable strands mean the component is nearing the end of its safe window.
Heat and lubrication breakdown. Garage door lubricant viscosity changes with temperature. In a Tampa garage that hits 100 degrees for several hours a day in July and August, petroleum-based lubricants thin out and drip away faster than they would in a cooler climate. Synthetic options generally hold up better, but they still need checking every few months. A dry track and dry rollers make the opener work harder, which shortens the life of the motor and gears.
Salt air near the bay. Homes in South Tampa, Beach Park, and anywhere within a mile or two of Tampa Bay get salt-laden air that accelerates rust on steel components. Spring failure and cable fraying happen measurably earlier near the water. If you can walk to the bay from your house, check your springs and cables for corrosion more often than the every-six-month inspection we’d recommend for an inland home.
Storm wind loading. Tampa building codes require garage doors to withstand significant wind pressure, because a failed garage door during a hurricane can compromise the roof structure of the entire house. The reinforcement struts and heavier-gauge hardware used on wind-rated doors add weight, which means spring tension must be calculated for that specific door. Local requirements are covered in our guide to Garage Door Permits, Codes & Inspections in FL: What You Need to Know. A replacement spring must match the door’s actual weight, not a generic weight for a similar-looking door. This is another reason the “one spring fits most doors” DIY kits are a risk.
If any of this makes the garage sound like a system rather than a simple door, that’s because it is. The door, the springs, the cables, the tracks, and the opener all work together, and a change to one part affects the others. Garage Door Installation in Tampa involves the same system-wide thinking, which is why we measure each door and select springs by weight and height rather than by the old spring’s appearance.
Common Mistakes to Avoid
- Lubricating the wrong parts. Spraying lubricant on the track itself seems logical but actually causes problems: the rollers are designed to roll, not slide, and a slick track makes the door bounce and jerk. Lubricate the roller bearings and the hinges, not the track where the roller rides.
- Using WD-40 as a spring lubricant. WD-40 is a solvent and water-displacer. It’s not a long-term lubricant. It will quiet a spring briefly, then evaporate and leave the spring drier than before. Use a garage door specific spray or white lithium grease on the spring coils, and keep the application light.
- Removing the spring without marking position. If you’ve decided to proceed with DIY spring work despite our warnings, the absolute minimum is to photograph the spring orientation, count the number of turns as you unwind, and mark the spring pad and bracket positions before touching anything. Skipping this turns a reversible mistake into a dangerous one. We mention this not as an endorsement but as harm reduction for anyone who is going to attempt it anyway.
- Mismatching the spring pair. Most double doors use two springs of identical size. A homeowner who replaces only the broken spring and leaves the old one creates a door that is unbalanced because the new spring is stronger than the fatigued old one. The door opens crookedly, which binds the tracks and accelerates cable wear. Springs are replaced as a pair, which is why the parts cost is usually $60 to $120 for the pair rather than half that for one.
- Ignoring the weight difference on wind-rated doors. Tampa doors built after the early 2000s often carry wind reinforcement that adds 20 to 40 pounds. A spring selected for an unreinforced door of the same size will not lift a wind-rated door smoothly, and the imbalance will destroy the new spring quickly. This is a Tampa-specific failure mode that national guides rarely mention.
- Attempting cable work after releasing the tension incorrectly. Some DIY attempts begin with the right instinct, de-tension the spring, but do it by loosening the set screws all at once instead of unwinding gradually. The result is a violent release of the spring’s stored energy with the winding bar still in place. If you release tension, do it in controlled quarter-turn increments, ideally with a second person present to call for help if something goes wrong.
- Reusing old hardware on a new spring. Worn bearing plates, loose set screws, or a bent torsion tube will shorten the life of a new spring and can cause it to slip under load. A professional spring replacement in Tampa typically includes an inspection and replacement of worn hardware as needed. DIY kits often skip this, which is why a DIY spring can fail within a year when the original had lasted seven.
When to Call a Professional
Any of these situations warrants a phone call rather than a wrench: a snapped spring, a frayed or broken cable, a door that hangs visibly uneven, or a door that slams shut when you release it manually. If you notice the door making a loud bang while opening, that’s a spring already failing. If you see a gap in one of the spring coils, that spring is done. None of these are edge cases, and none of them respond to lubrication or sensor tweaks.
When the problem is a high-tension component, the quickest safe path is a professional diagnosis with a written price. Fernbrook Garage Doors Tampa offers free estimates in Tampa, and every visit includes a written quote before any work starts. Call (850) 831-4801 and you’ll reach a live person, day or night. The estimate costs nothing, and the written price protects you from the surprise invoice that makes homeowners wary of calling in the first place.
Frequently Asked Questions
Spring repair in Tampa typically costs $180 to $340 for a standard two-spring replacement on a 7-foot residential door, including parts, labor, and balancing. Single-spring doors run slightly less, and oversized or wind-rated doors can run higher. The price should always be confirmed in writing before work starts, which is exactly how Fernbrook Garage Doors Tampa handles every visit. Call (850) 831-4801 for a free, no-obligation estimate.
You physically can, but you shouldn’t. Florida has no law preventing homeowners from working on their own garage doors, but the torsion spring holds enough stored energy to break bones or cause deep lacerations if a winding bar slips. The financial savings rarely justify the injury risk, and a botched spring job often costs more to fix than the original professional repair would have cost.
If the problem involves the springs, cables, or bottom brackets, it is not DIY-safe. If the problem involves the photo eye sensors, lubrication, weatherstripping, remote programming, or the manual lock mechanism, and you are not touching any cable or spring component, it is generally safe for a careful homeowner. When the door is off-balance, meaning it doesn’t stay in place when you release it manually, the issue is spring tension and requires a professional.
A failed DIY spring repair typically costs more than the original professional price because the technician must first undo the mistake. A stripped torsion tube or damaged winding cone can add $150 to $300 to the job, and a door that was dropped or slammed during a DIY attempt can sustain panel or track damage that pushes the total past $700. The original spring replacement, done professionally from the start, would have cost $180 to $340.
No, standard garage door repairs including spring replacement do not require a permit in Tampa or Hillsborough County. New garage door installations may require a permit depending on the scope, particularly if the door is being structurally reinforced for wind load. Garage Door Installation in Tampa typically involves a check of the same wind-load requirements that apply to the rest of the home’s exterior.
Springs rarely give warning before they fail, but the break itself is usually the result of gradual metal fatigue, not a sudden overload. Tampa’s heat and humidity accelerate that fatigue by promoting micro-corrosion, and a spring that has reached the end of its cycle rating will eventually snap regardless of how carefully the door is used. The timing is random, which is why a live person answering the phone 24/7 matters when a door won’t open the next morning. Call (850) 831-4801 at any hour and a person will answer.
The Bottom Line
The DIY-versus-professional garage door decision is not about whether you’re handy. It’s about whether the task involves stored mechanical energy. Lubrication, sensors, weatherstripping, lock adjustments, and remote programming: safe. Springs, cables, and tension adjustments: call someone who does this work every day. The savings from DIY spring work, maybe $200 to $400, evaporate quickly the moment something slips, and the injury risk is not theoretical. It’s the most common serious garage door injury in Tampa. A written price before work starts protects you from the surprise invoice concern, and a professional repair protects your hands, your door, and your morning. That’s a trade most Tampa homeowners, once they see the numbers, are happy to make.
Written by Jesse Calder, Owner at Fernbrook Garage Doors Tampa, serving Tampa since 2002.
See the difference
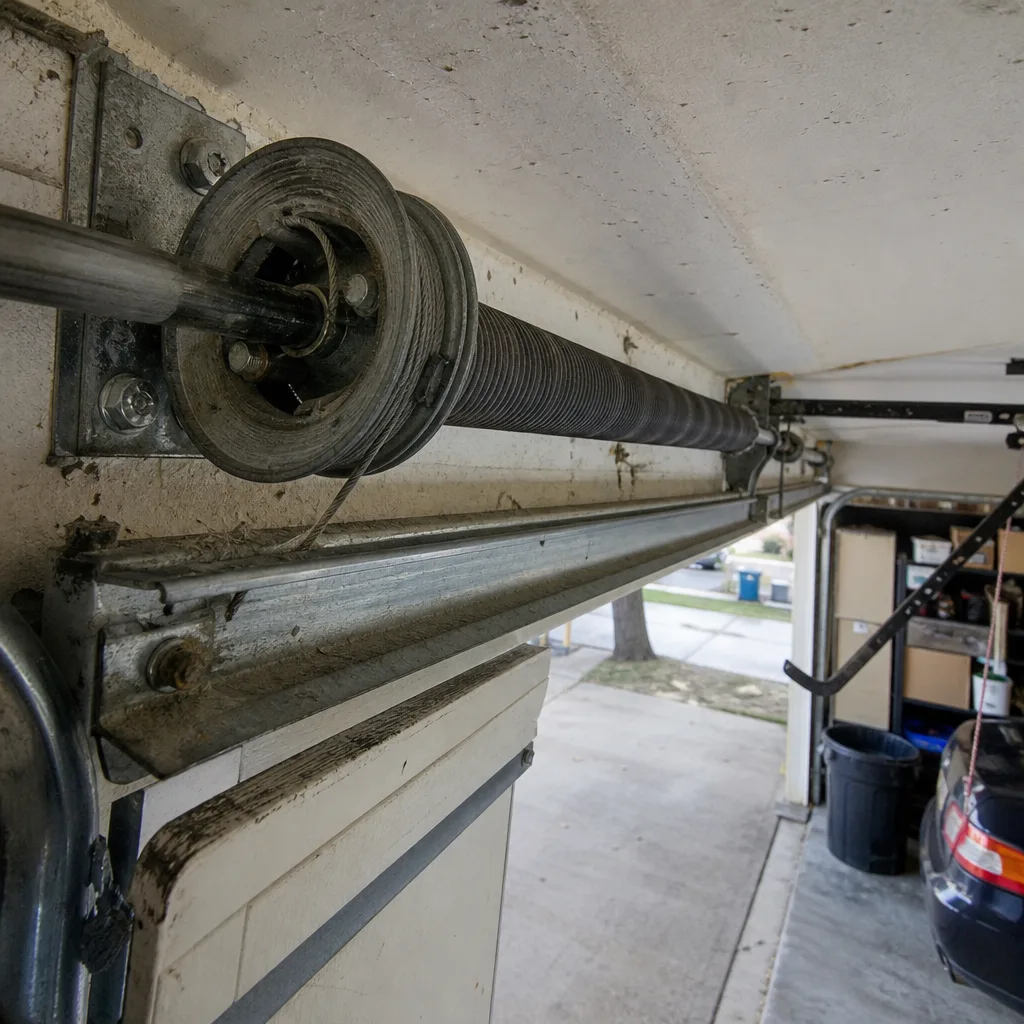 Before
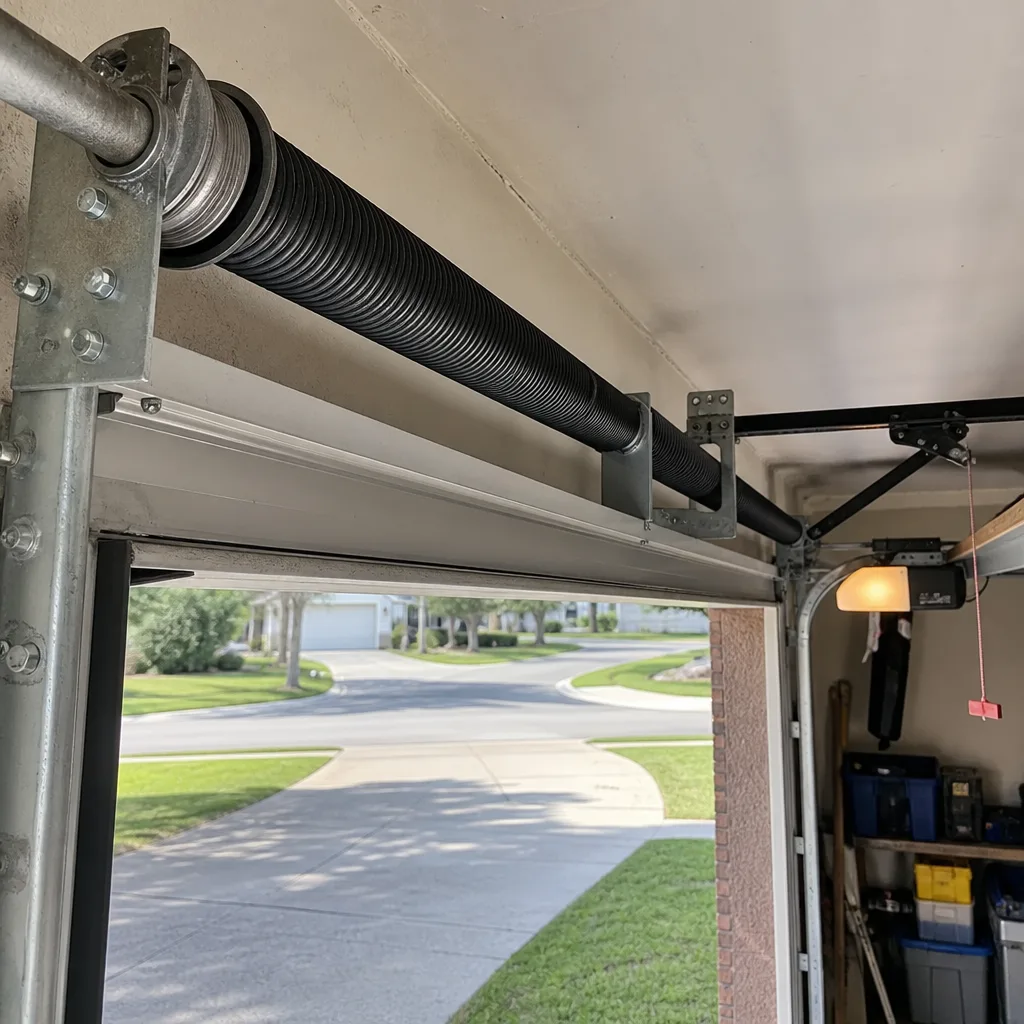 After
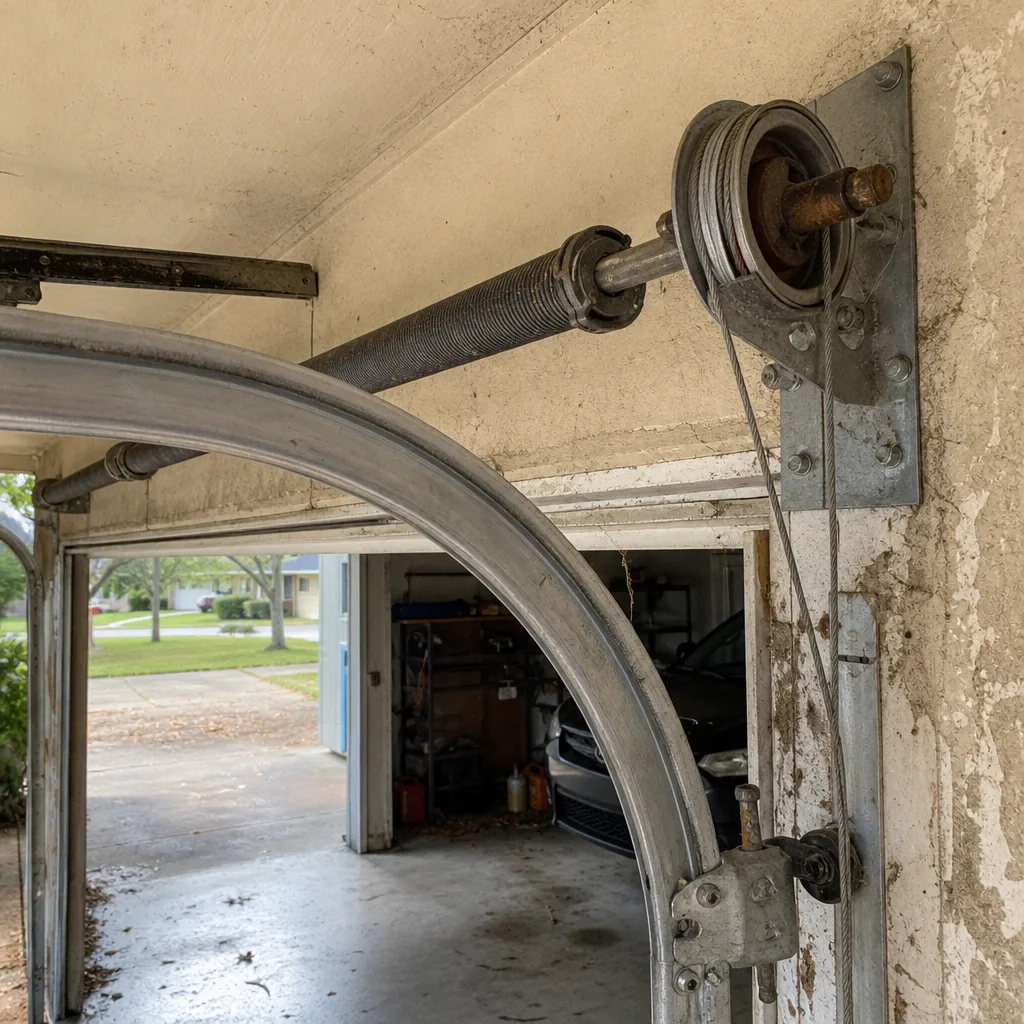 Before
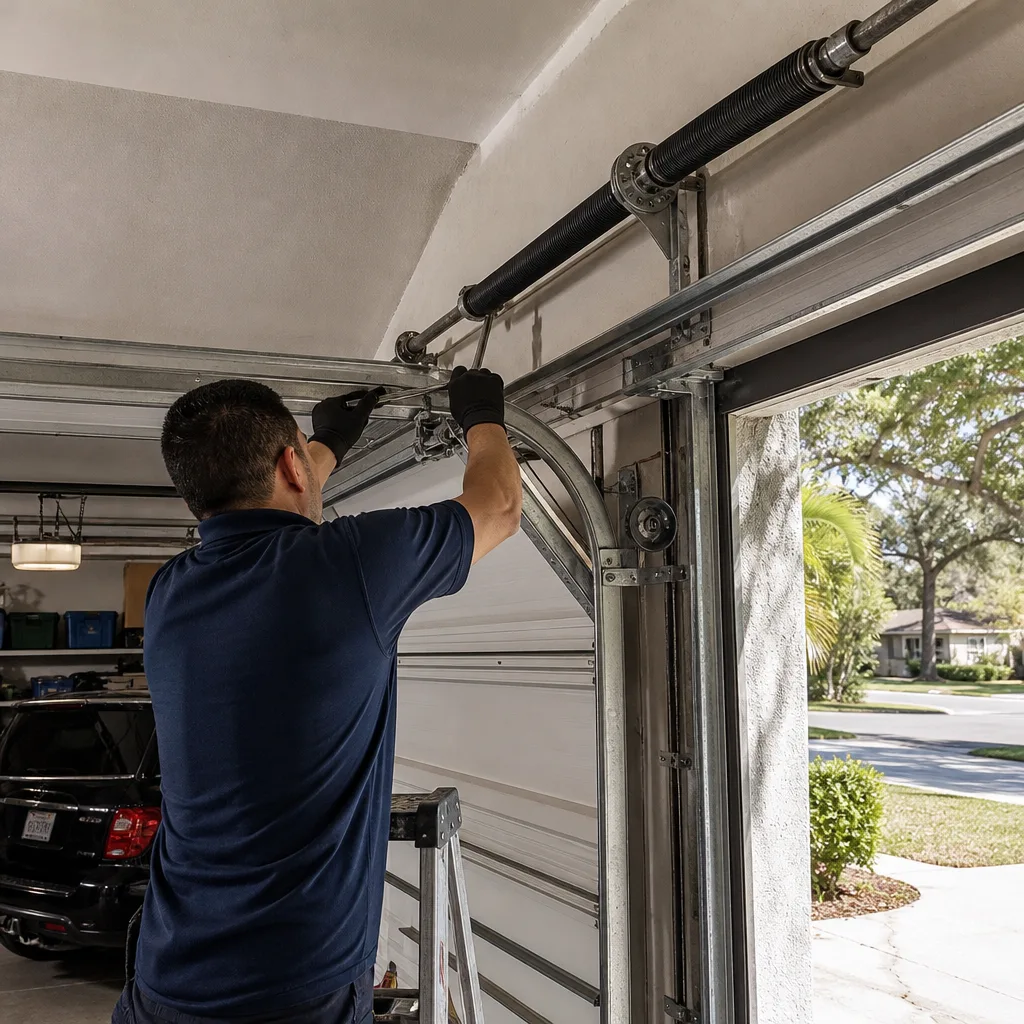 After
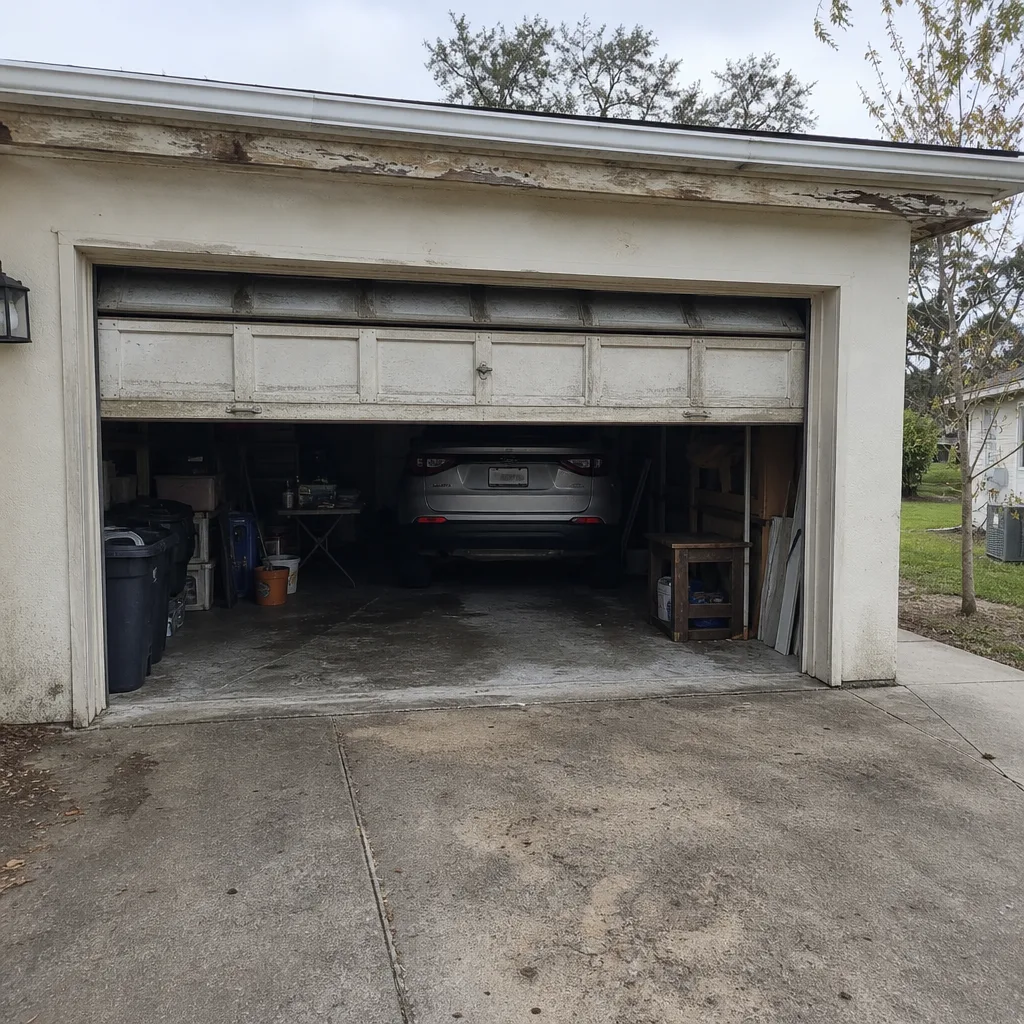 Before
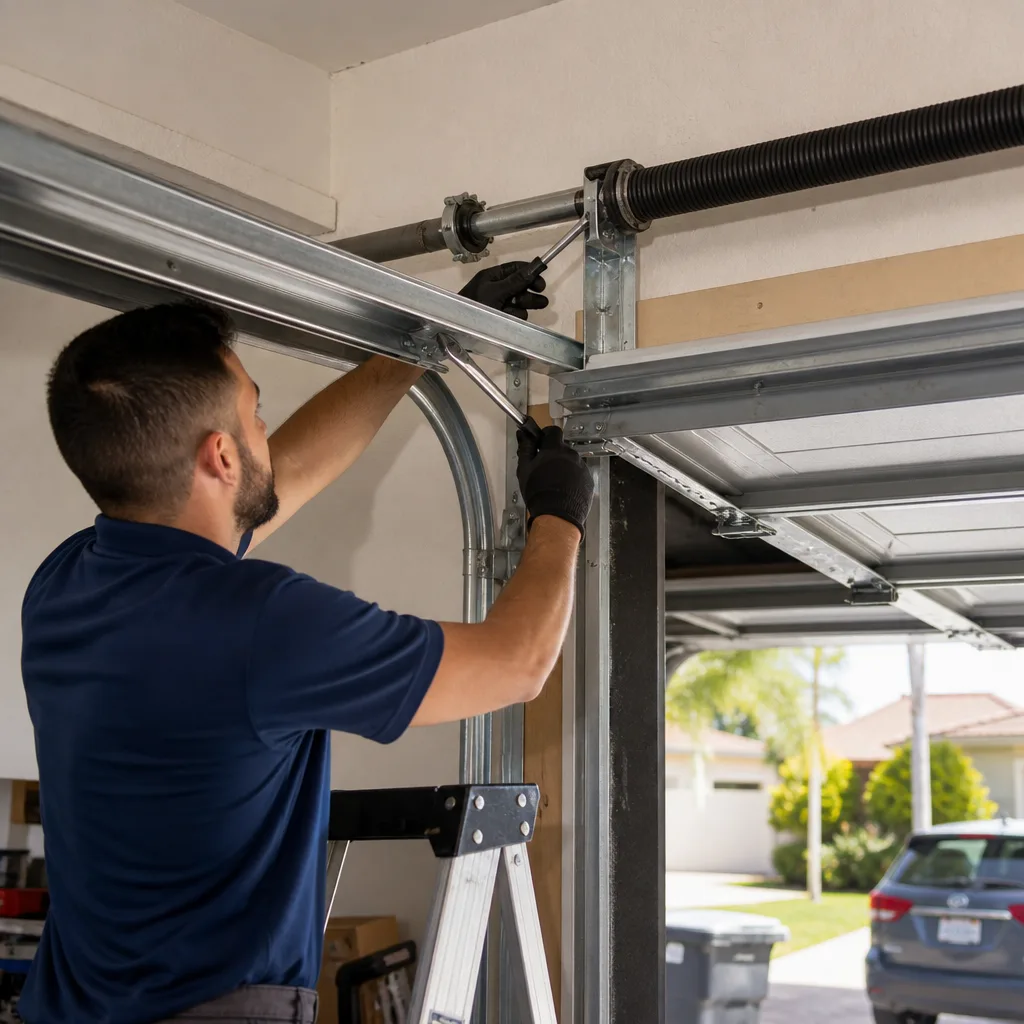 After